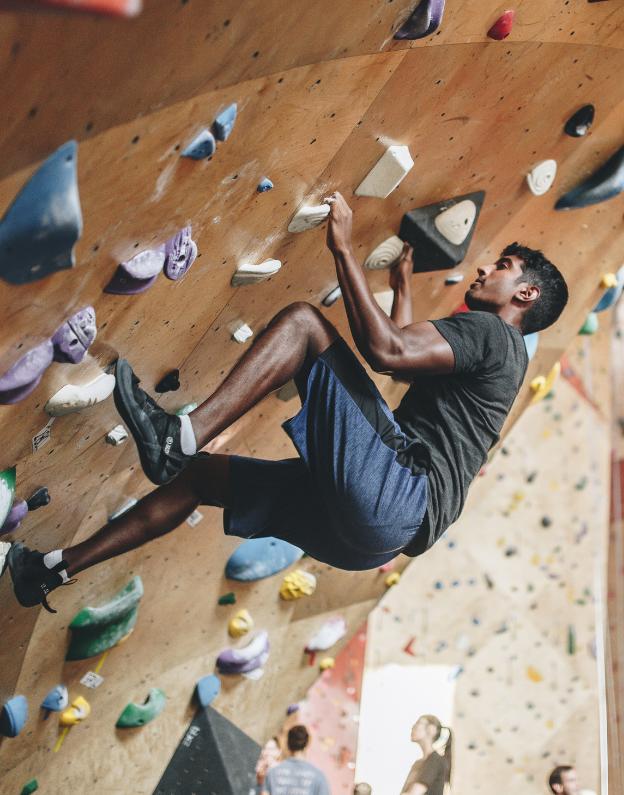
Learning the different types of holds and how to use them is critical as you’re getting started climbing. While some holds might look obvious, other ones not so much. Knowing how to tackle each one helps you predict what the routesetters had in mind for a particular problem, making it easier to solve instead of scratching your head in confusion.
And while it might take some time to master some of these holds, you’ll at least know you’re approaching them in the right way. Plus, you’ll sound like more of a pro knowing the names of each one when sharing beta with other climbers!
To get you up to speed here’s our guide to the six most common holds in indoor climbing and how to use them:
Jugs

Jugs are the deep and wide holds that make you sigh with relief. They can appear in a few forms, such as handlebars or flakes (flat, plate-like holds), but their defining characteristic is that you can fit your whole hand into it. Also known as “buckets” and “thank-god holds” for reasons that are self-explanatory.
How to use: For a more efficient rest, try extending your arms long. Keeping your elbows bent and your body to the wall might feel more intuitive, but it will tire your arms out faster.
Slopers

Slopers are large, sloping holds that require an open-handed grip. Since you won’t be able to wrap your fingers around them for grip, these holds rely on the friction of your hand.
How to use: Make your hand into a mitt, with your fingers close together. Press your whole hand—or as much of your hand as you can—onto the hold. The more surface area you can get on there, the better your grip will be. Keep your body low and close to the wall. The more you can pull down on the hold the better it will feel.
Pinches

Pinches these holds are narrower than slopers and usually slightly more positive, allowing you to press your thumb against one side and the rest of your fingers against the other. Most people assume that the stronger your fingers are, the better you can grip pinches. This is true to a point. If you really want to get better at these holds, the secret is to strengthen your forearms.
How to use: In the case of pinches, the name really says it all. Turn your hand into a lobster claw and squeeeeeze. The key is to keep all your fingers — including your pinky, even if it wants to come off! — tight on the hold.
Pockets

Pockets are round holes in climbing holds that range in size depending on the difficulty of the problem. Some can fit your whole hand but most offer smaller openings that can usually only fit a few fingers. Monos, or holds that fit only one finger, are usually only found on more advanced climbs.
Disclaimer: Be careful with pockets! Unlike with slopers, pinches, and jugs, most of the weight does rely on your fingers. Overloading your fingers before they are strong enough to support you is the quick way to injury.
How to use: Depending on the size of the pocket you want to fit your strongest fingers into the hold. Some people feel most confident with their first and middle finger, others feel stronger with their middle and ring finger. Rarely (if ever?) has anyone relied on their pinky as their strongest finger, and we don’t suggest you try this method. It sounds like a recipe for injury. For a three-finger pocket, you’ll also use your index finger. Your thumb doesn’t go into the pocket, but rather pinches the outside of the hold for extra grip.
Crimps

Crimps are the anti-jug. They are flat or slightly indented holds that only fit a part of your finger. Depending on the difficulty of the climb (and the size of your fingers) you might be able to get one or two digits on the hold. Anything more, and it’s a “ledge” or a “jug.”
Similar to pockets, you want to be extra careful with crimps until your fingers are starting to get stronger.
How to use: Press the pads of your fingertips into the hold, and keep your body close to the wall to get a better angle. You can keep the grip “open” by leaving your thumb off, or “closed” by placing your thumb on top of your fingertips for extra force. But again: That force falls on your fingers, so be extra cautious when just starting out. These holds will also get your arms pumped, or generate a lot of lactic acid in your forearms. So make sure to take breaks when you need them!
Footholds

Footholds are meant for your feet. Shocking, right!? You’ll know them because your hands won’t know what to do with them. Technically, anything on the route that you put your hands on, you can put your feet on. But footholds are those teeny-tiny little teases of holds that are just enough to tap your toe on.
How to use: Remember: your legs are stronger than your arms. Once you accept that, and learn to trust your feet, climbing gets a whole lot easier. If you can, step before you reach. Trying to reach as high as you can will tire you out faster than if you find the foothold and then step up to that next grip. Think of it this way: is it easier to spend ten consecutive minutes walking on the stairmaster or ten minutes doing pull-ups? Use your handholds to help you stay balanced and to position your body and your footholds to deliver the power you need to climb up the wall.
Climbing Classes at BKB
Now that you know some of the major holds and how to do them, the best way to learn is to get out and try them all! We recommend signing up for one of our BKB Classes available for climbers of all levels. Visit your locations page for more info! CHI NYC
Hands-on instruction is one of the best ways to learn the proper grip and technique you need to climb smarter + stronger while avoiding injury. That way you can spend less time figuring it out and more time crushing those slopers and crimps!
Keep in mind that aside from the beloved jug, most of these handholds are not always easy to perfect as you’re getting started. So whether you’re taking a class or trying them out on your own, be patient with yourself as you learn and remember to take breaks!